How to create deep-links for push-notification campaign
- May 17, 2023
- 3 min read
Updated: Nov 13, 2025

Deep-links allow you to redirect customers from push-notification to a marketplace, an exact restaurant, a dish or a Content Screens (created as a CMS page in the admin panel) in your app.

Attention: these scheme works only for Playfood section in Onde Passenger App.
Deep-link in a marketplace
To create a deep-link in a marketplace, follow the instructions below:
Here is a draft of the link:
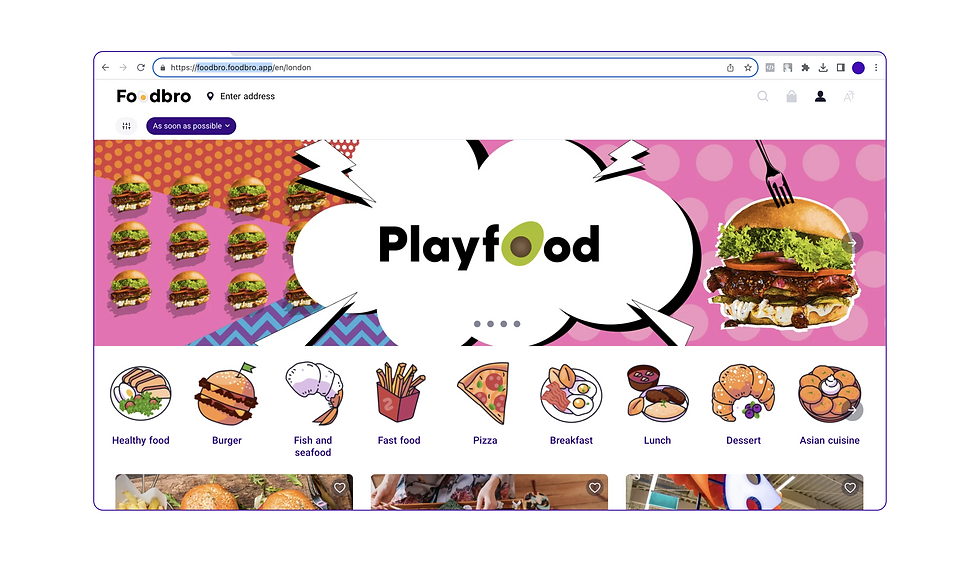
https://api.{domain}/customer/auth/onde/login/redirect/{locality}?method=POST&companyId={company id}
What are the highlighted parts:
{domain} – your marketplace address
{locality} – city of operation
{companyId} – part of integrated settings, which you can find in the Admin panel
It may seem strange and overwhelming, but it is easy, if you follow the steps below. So, let’s try together:)
Step 1: copy these draft
https://api.{domain}/customer/auth/onde/login/redirect/{locality}?method=POST&companyId={company id}
Step 2: insert your domain name in place of the green curly brackets
https://api.foodbro.foodbro.app/customer/auth/onde/login/redirect/{locality}?method=POST&companyId={company id}
Reminder: don’t forget to delete curly brackets.
Step 3: insert your "locality" in place of the blue curly brackets
https://api.foodbro.foodbro.app/customer/auth/onde/login/redirect/london?method=POST&companyId={company id}
Step 4: insert a "redirectUrl" in place of the purple curly brackets
https://api.foodbro.foodbro.app/customer/auth/onde/login/redirect/london?method=POST&companyId={company id}
Step 5: insert your "companyId" in place of the green curly brackets
Open MyHub, the “Dashboard” page will be opened automatically.

Copy code from the address link between /company/ and /dashboard
Insert the copied info in place of the yellow curly brackets
https://api.foodbro.foodbro.app/customer/auth/onde/login/redirect/london?method=POST&companyId=a0b9100b-b1f9-47e1-9a77-26cac1dc66b7
Reminder:
Don’t forget to delete curly brackets;
Remember that the city of the company should match with the preferred city for the push-notification campaign.
Great! You’ve created the link, what’s next?
Open Firebase and create a new campaign (detailed instruction can be found here)
Pay attention to the “Additional options” section: fill in the “Custom data”
Insert the “DeliveryUrl” text into the “Key” part.
Insert your newly created link into the “Value” part.

Push the “Review” button and check the settings.
Push the “Publish” button.
That’s it! Now let's create a deep-link for an exact restaurant, a dish, or a Content Screens (created as a CMS page in the admin panel).
Deep-link in a restaurant, dish, or Content Screens
So, here is a new draft of the link:
https://api.{domain}/customer/auth/onde/login/redirect/{locality}/{redirectUrl}?method=POST&companyId={company id}
What are the highlighted parts:
{domain} – your marketplace address
{locality} – city of operation
{redirectUrl} – original link to a vendor (restaurant), an exact dish or a CMS page
{companyId} – part of integrated settings, which you can find in the Admin panel
You've did it once, you can do it twice! Let' go.
Step 1: copy these draft
https://api.{domain}/customer/auth/onde/login/redirect/{locality}/{redirectUrl}?method=POST&companyId={company id}
Step 2: insert your domain name in place of the green curly brackets
https://api.foodbro.foodbro.app/customer/auth/onde/login/redirect/{locality}/{redirectUrl}?method=POST&companyId={company id}
Reminder: there is no additional text here, just the domain link itself. And don’t forget to delete curly brackets.
Step 3: insert your "locality" in place of the blue curly brackets
https://api.foodbro.foodbro.app/customer/auth/onde/login/redirect/london/{redirectUrl}?method=POST&companyId={company id}
Step 4: insert the link on a vendor (restaurant), exact dish or a CMS-page
Open the restaurant (exact dish or a CMS page) on the web-view of your marketplace and copy the end part of the link in the address row, which differs from your domain address.

Insert this code in place of the red curly brackets
https://api.foodbro.foodbro.app/customer/auth/onde/login/redirect/london/vendor/1?method=POST&companyId={company id}
Reminder: don’t forget to delete curly brackets.
Step 5: insert your companyId in place of the green curly brackets
Open MyHub, the “Dashboard” page will be opened automatically.
Copy code from the address link between /company/ and /dashboard
Insert the copied info in place of the yellow curly brackets
https://api.foodbro.foodbro.app/customer/auth/onde/login/redirect/london/vendor/1?method=POST&companyId=a0b9100b-b1f9-47e1-9a77-26cac1dc66b7
Reminder:
Don’t forget to delete curly brackets;
Remember that the city of the company should match with the preferred city for the push-notification campaign.
Wonderful! You’ve created the link, now let's move to Firebase.
Open Firebase and create a new campaign (detailed instruction can be found here)
Pay attention to the “Additional options” section: fill in the “Custom data”
Insert the “DeliveryUrl” text into the “Key” part.
Insert your newly created link into the “Value” part.
Push the “Review” button and check the settings.
Push the “Publish” button.
That’s it! Wishing you successful results.


Comments